Below is my guide to deploying a static site from GitHub to AWS making use of the following services: S3, CloudFront, Lambda@Edge and Route53.
My personal website is a static website created using Hugo (a fantastic static site generator), and I wanted to host it on one of the major cloud providers inexpensively. I also wanted to use HTTPS so I couldn’t just use an S3 bucket open to public access, I needed to use CloudFront. (If you only require HTTP, you can just enable static access to your S3 bucket from the properties page.)
S3
S3 is an object based storage system, we’re going to use it to host the actual files that make up our website. The files will be pulled from a directory inside a GitHub repo.
-
S3 bucket - create a brand new S3 bucket. The name needs to match that of your domain(s). You won’t need to allow any public access as you’ll be doing all you’re uploading through GitHub (or through API/web), and CloudFront will be given specific permissions allowing access to S3.
-
For me I’m using ’test.ashleycollinge.com’ as the domain for my website. I’ve also chosen the AWS eu-west-2 (London) region (it might be better to move it to a different one, I’m not sure!). You can leave the ‘Block all public access’ checkbox checked as it won’t be required.
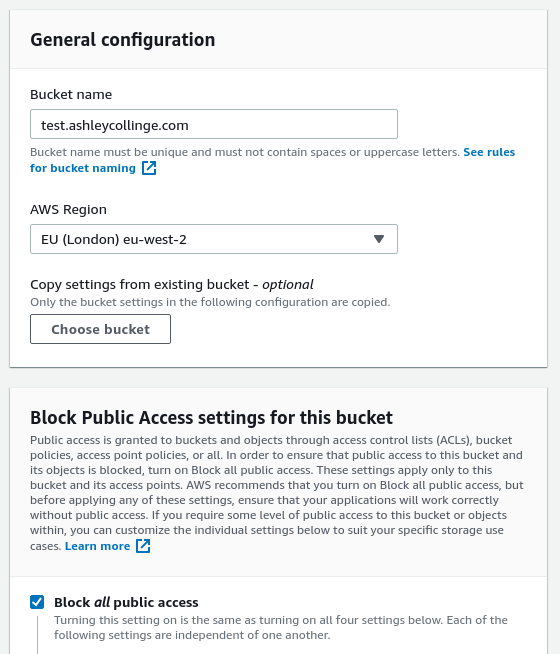
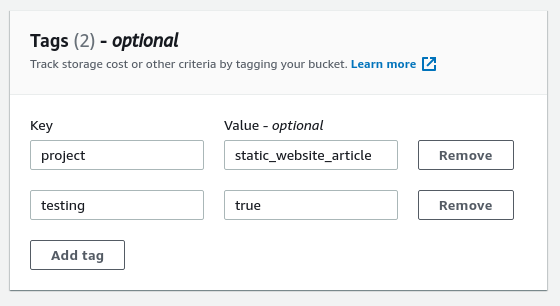
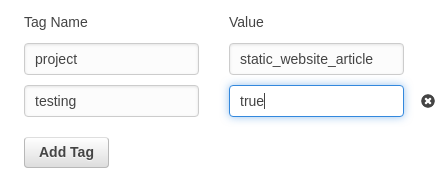
- I also (optionally) added some tags to the bucket so I can reference them later together as a project.
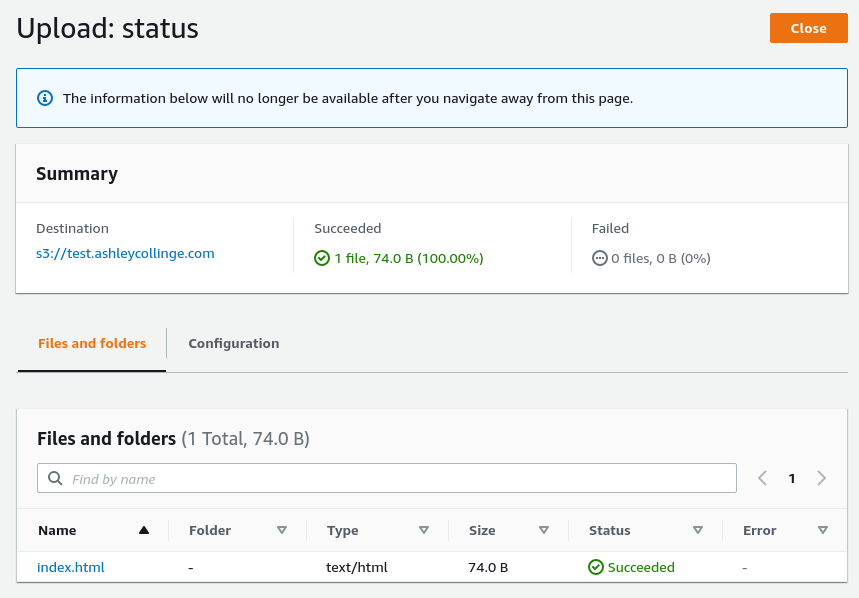
- Upload your static content. Open your new S3 bucket and under ‘Objects’ select the Upload button. Here you can upload a simple index.html for testing like I’m doing (and set up the Github integration later).
CloudFront
CloudFront delivers content over the web from edge locations. For me it’s putting a CDN in front of S3.
- Open the CloudFront console, goto Distributions, and click Create distribution.
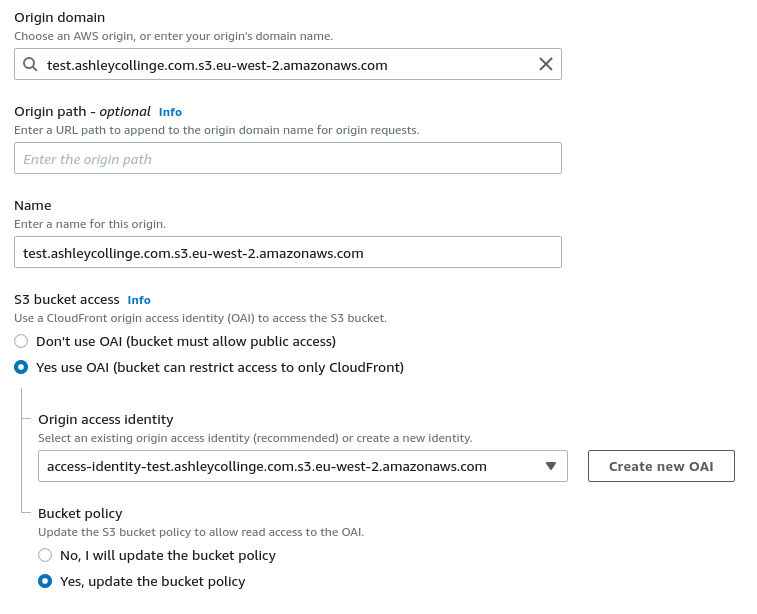
- For the ‘Origin Domain’ choose the S3 bucket you created earlier.
- Select a new name for the origin, I’ve left it as default.
- For ‘S3 bucket access’, select ‘Yes use OAI.
- Select ‘Create new OAI’ and select create to create a brand new separate identity which will provide permissions to CloudFront for bucket access.
- Select ‘Yes update the bucket policy’ - this will updated the bucket policy with the new OAI.
- For my repo, my static files are stored in /public/*, so I would add that to the Origin path. This would add /public/ to the start of all requests to S3.
- You can leave the ‘Default cache behavior’ and ‘Function associations’ (for now) section as default.
- Under ‘Settings’, you can choose whichever ‘Price class’ you want.
- Add your domain and any other subdomains as ‘Alternative domain names’, for me that’s test.ashleycollinge.com and www.test.ashleycollinge.com.
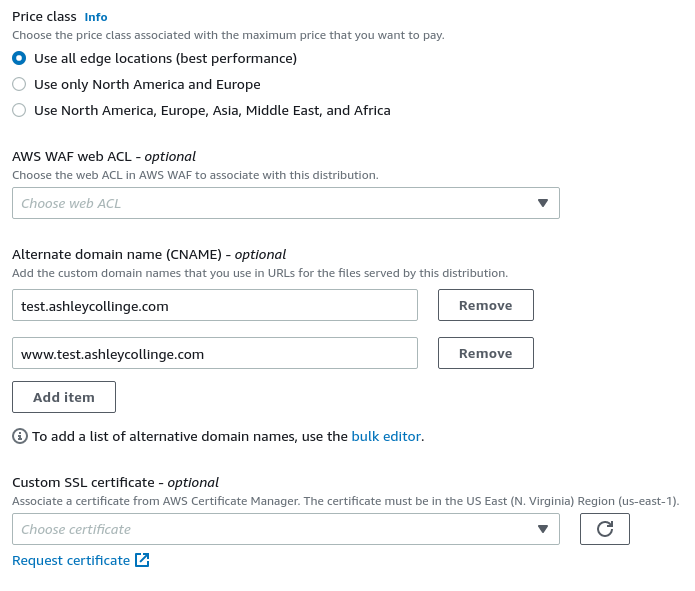
- We need our new domains to be included on any certificates provided to clients, so we need to request a new SSL cert.
- Click ‘Request new certificate’ which will open the AWS Certificate Manager and straight into the Request a Certificate wizard.
- Under ‘Add domain names’ enter all of the domains you entered previously as CNAMES, for me that’s test.ashleycollinge.com and www.test.ashleycollinge.com and press next.
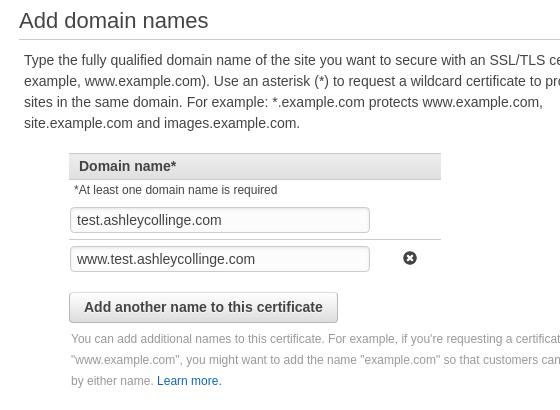
- For the validation method we’ll use DNS validation, select this and press next.
- Add any tags you feel you need and click next.
- Review all of the options you’ve chosen and click ‘Confirm and request’.
- If you’ve added your domain(s) to Route53 you’ll be able to just select the ‘Create record in Route53’ button for each domain, this will create a CNAME record in Route53 which AWS Cert Manager will use to verify you own the domain. If not, you’ll need to manually create the CNAME records in whatever DNS control panel you have access to.
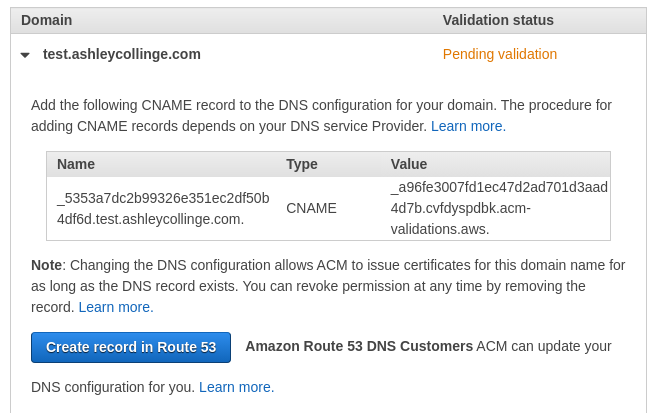
- Once you’re records have been created, either in Route53 or elsewhere, press ‘Continue’.
- Wait until the Validation status has changed to Success for all of your domains.

- Once Validated, you can close the AWS Cert Manager tab, and go back to the CloudFront wizard.
- Under ‘Customer SSL certificate’, click the refresh button and then select your new certificate in the drop down menu.
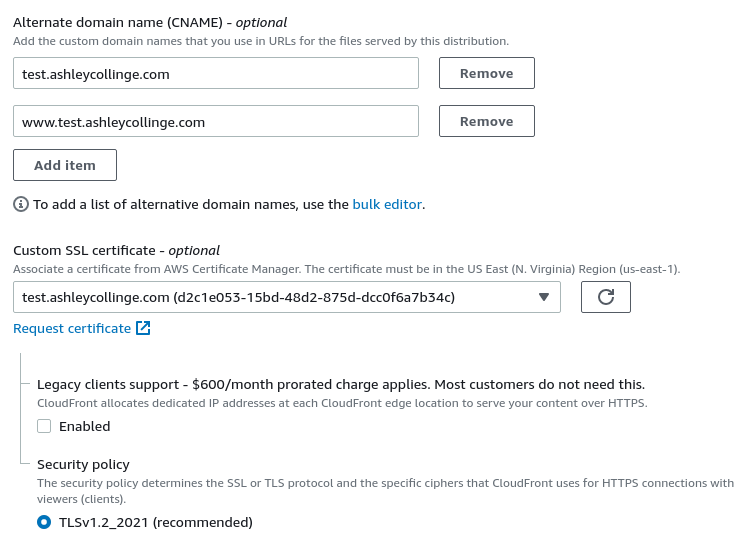
- I’m leaving the security policy as default, but you can change if required.
- I’m entering ‘index.html’ as the Default root object as folders won’t redirect like normal web servers will do.

-
Once happy with your choices, select ‘Create distribution’. This will now deploy, and may take some time. You can check on the status in the CloudFront front page.
-
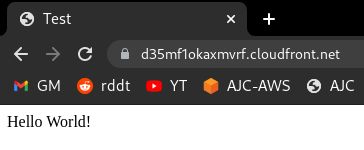
If you open up the distribution you’ve just created and copy the Distribution domain name into another tab you should be able to see your test HTML file you uploaded to the S3 bucket earlier. This is being accessed through CloudFront. (Client <-HTTPS-> CloudFront <-REST-> S3 Bucket).
Route53
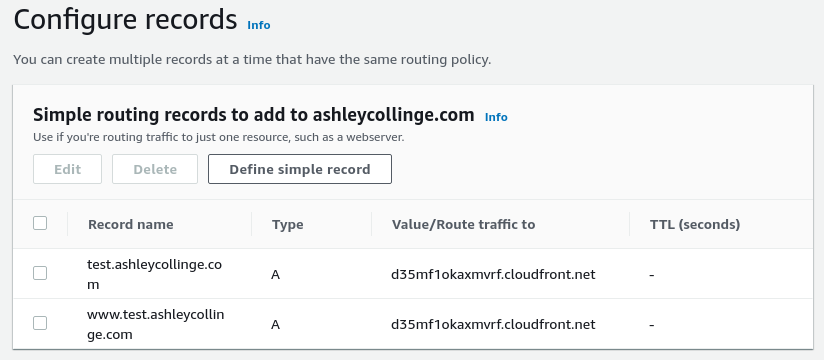
All you need to do now is create CNAME records pointing your domains to the Distribution Domain name, as we’ve made Amazon aware of which domain names we’re using their servers will happily accept the requests (and the SSL cert will be valid too). You can use the alias option in Route53 if you want, it shouldn’t make too much difference.
- In Route53, click Add Records. Then choose ‘Simple Routing’.
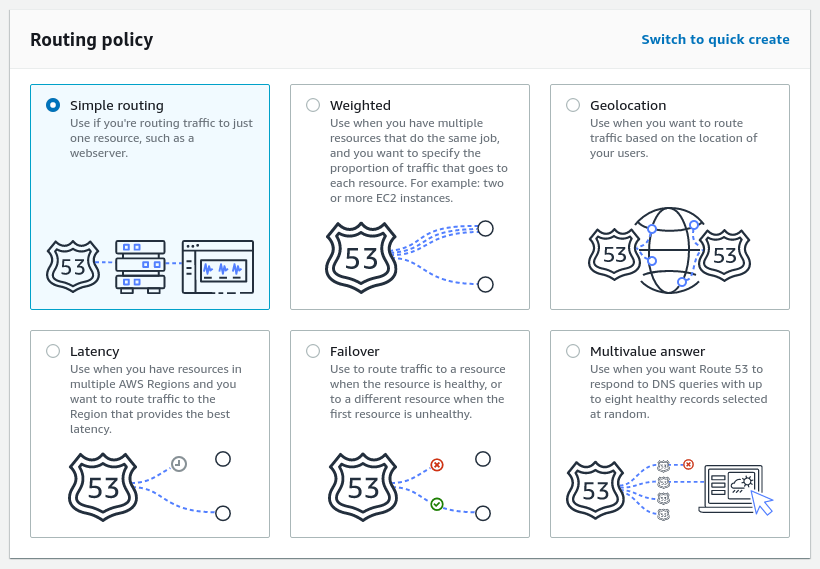
- Define your records as either CNAME records to your Distriubtion Domain Name, or as aliases to the CloudFront distribution.

- Once completed, click Add Records.
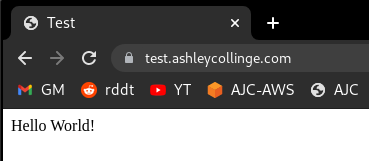
- After a little while, test it out.
Lambda@Edge
In a lot of cases most web servers will normally take this: domain.com/ and internally redirect it to domain.com/index.html (or whatever else has been setup). S3 will also do this, but only for the root of the bucket, not for the deeper directories. So domain.com/post/ will not automatically redirect to domain.com/post/index.html, but fail with either Not Found or Access Denied. This is because directories don’t really exist. To fix this, we will create a Lambda function which will take each request and add index.html to the end if there’s a slash at the end and nothing else. We will also deploy the lambda function to the edge, meaning these requests are dealt with further up the chain.
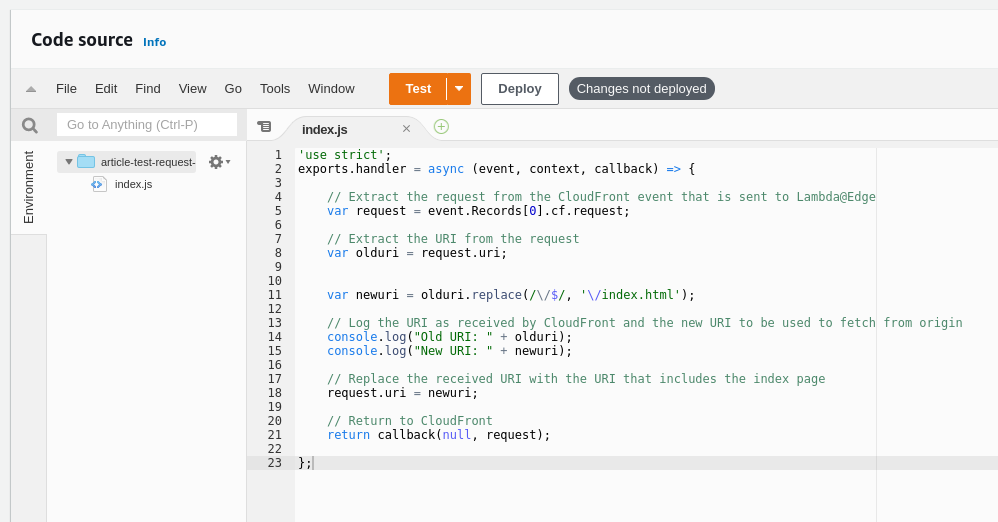
Here is the lambda function that I’ve used. Notice that it logs the old and new URI, so when testing it’s easier to see if it’s working.
'use strict';
exports.handler = async (event, context, callback) => {

    // Extract the request from the CloudFront event that is sent to Lambda@Edge
    var request = event.Records[0].cf.request;

    // Extract the URI from the request
    var olduri = request.uri;


    var newuri = olduri.replace(/\/$/, '\/index.html');

    // Log the URI as received by CloudFront and the new URI to be used to fetch from origin
    console.log("Old URI: " + olduri);
    console.log("New URI: " + newuri);

    // Replace the received URI with the URI that includes the index page
    request.uri = newuri;

    // Return to CloudFront
    return callback(null, request);

};
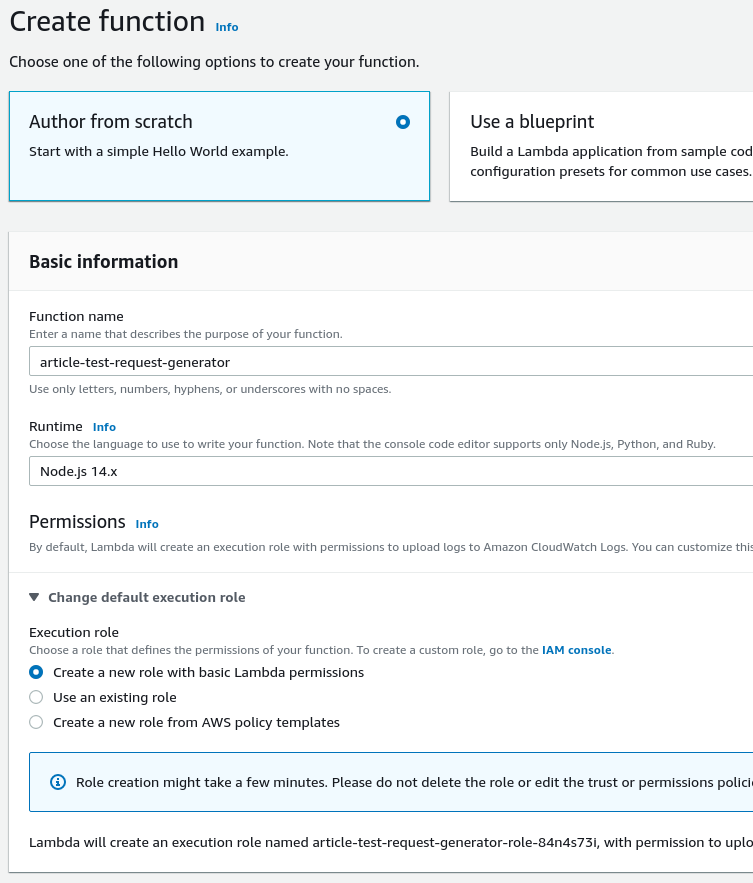
- Open the Lambda console. Click Create Function.
- Choose a function name, select nodeJS for the runtime and select ‘Create a new role with basic Lambda permissions.
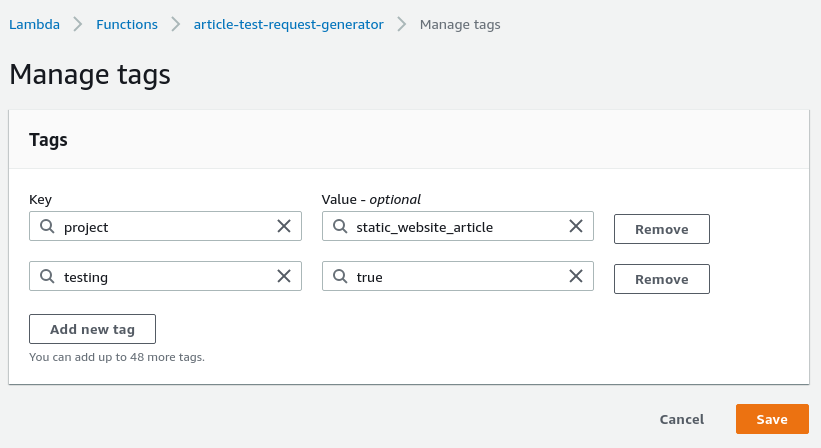
- It will take a moment or two to create. Once done, you can go to Configuration, Tags, and click Manage Tags. Then you can add some optional tags if you need.
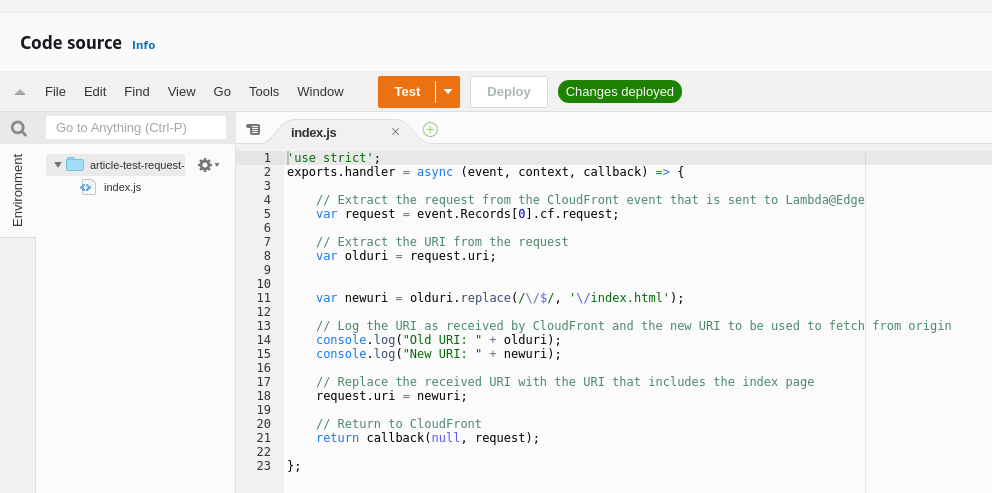
- Copy the code from the top into the code window, you must click the Deploy button for the code to be saved. The save button its self doesn’t do much.
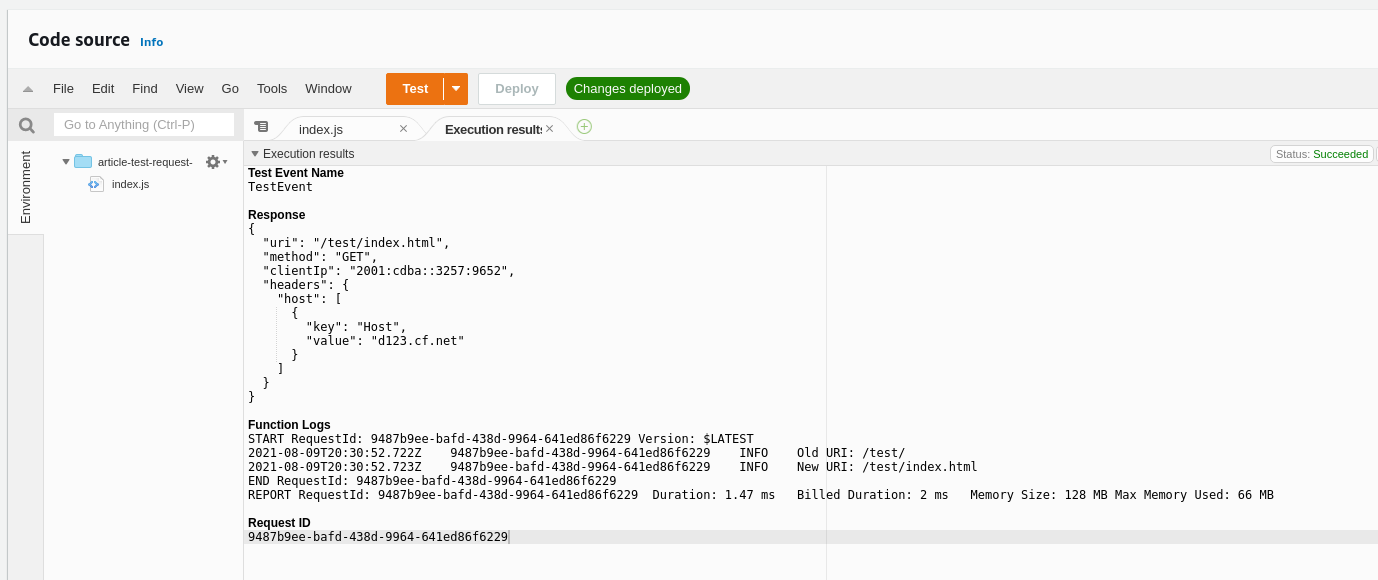
- Create test event using the ‘cloudfront-response-generation’ template which will fill in most details for you - for us you just need to add the trailing slash to the test URL.

- Confirm that the test has been successful.
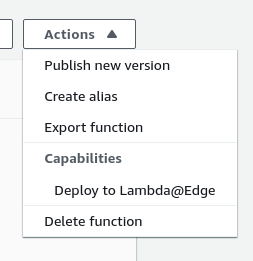
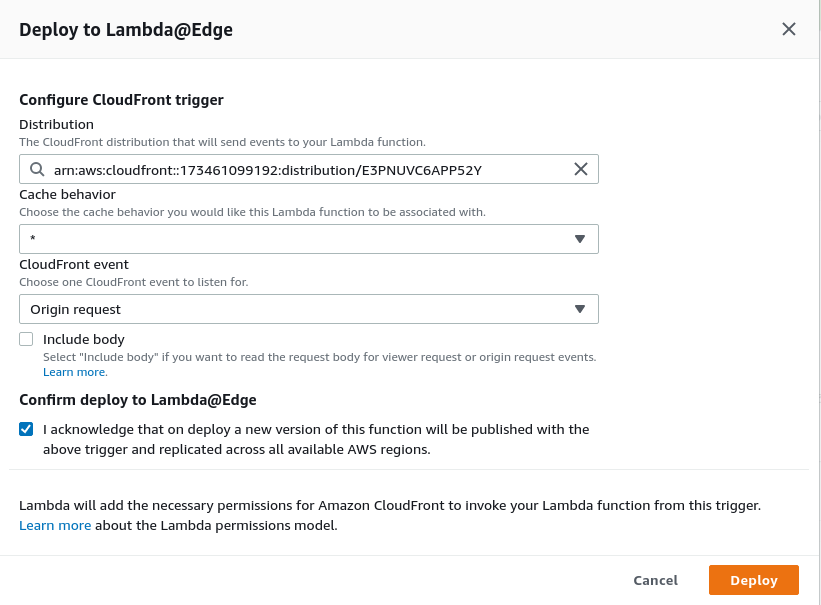
- Next, we can publish the function to the edge to begin working. It will create a new version of the function (:1) and deploy it. If you make any changes you must deploy the changes so they save the function, then deploy to the edge again. You’ll be able to see the different version numbers in CloudFront.
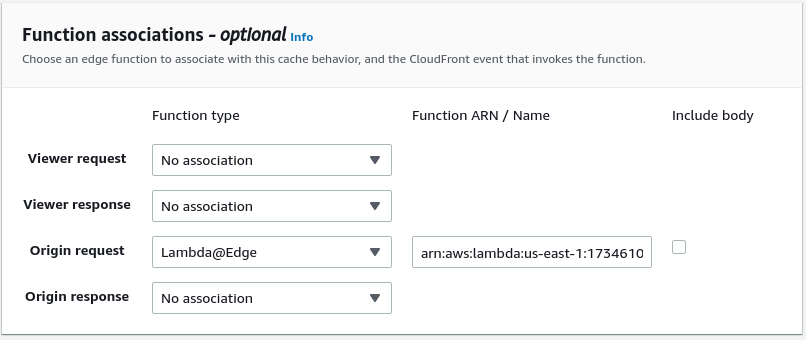
- Ensure you have chosen the correct CloudFront distribution, set CloudFront event to be ‘Origin Request’ (when CloudFront requests the S3 origin). You don’t need to include the body.
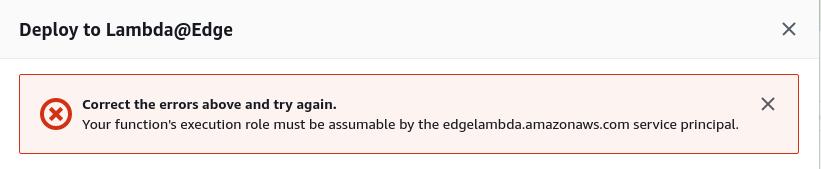
- You may get an error, this is due to the IAM role being used by the functin doesn’t have the correct permissions, we need to allow some extra permissions before we can deploy to edge.
- Go to IAM, then Roles and find the role you created earlier for the Lambda function. Then go to Trust Relationship, and click edit trust relationship.
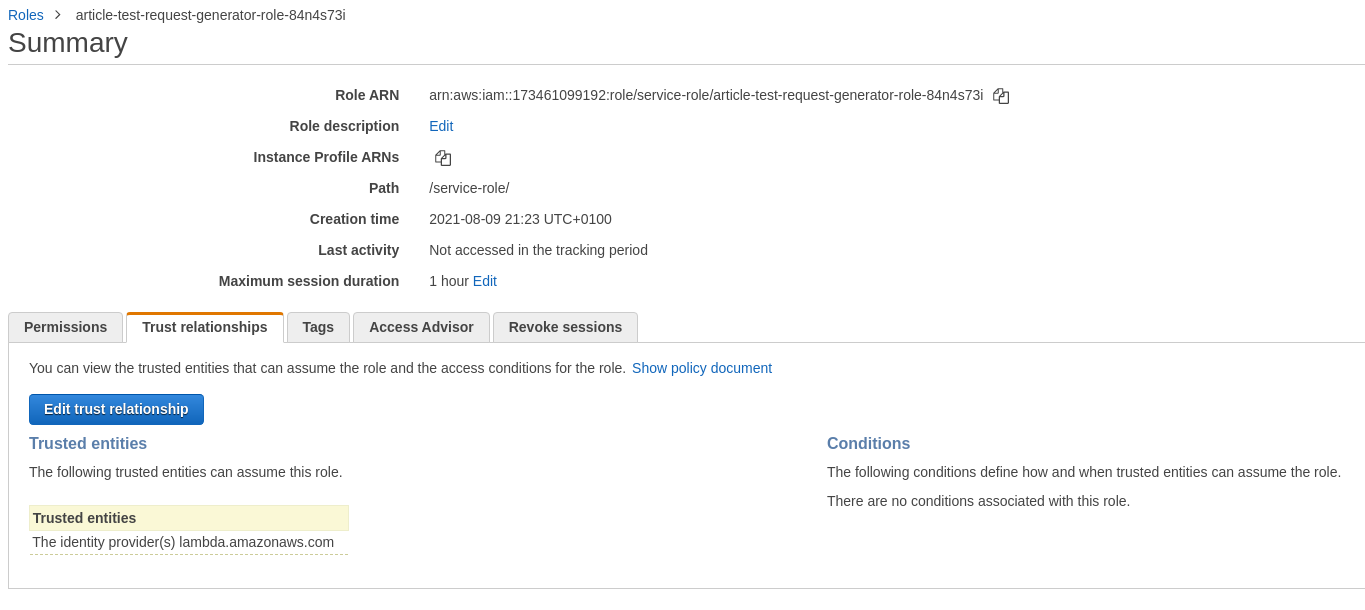
- Copy the code from below in, and click save. This will change the permissions of the role, and will allow you to now deploy to the edge.
{
  "Version": "2012-10-17",
  "Statement": [
    {
      "Effect": "Allow",
      "Principal": {
        "Service": [
          "lambda.amazonaws.com",
          "edgelambda.amazonaws.com"
        ]
      },
      "Action": "sts:AssumeRole"
    }
  ]
}

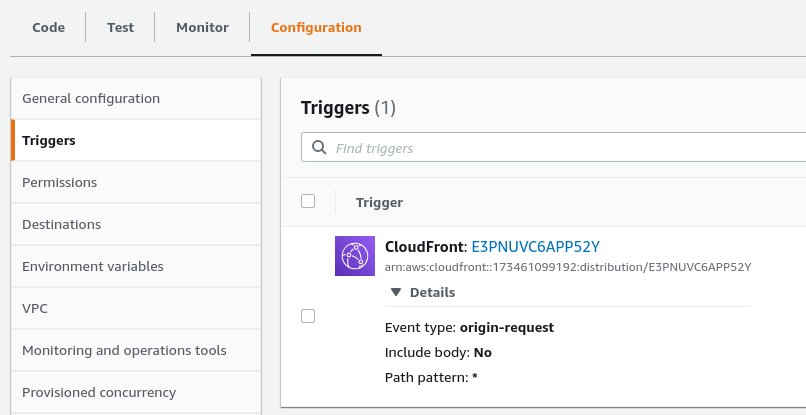
- Once done, you can go back to Properties on the function, go to Triggers and you should see the trigger specific to your chosen CloudFront distribution.
- If you go back to CloudFront, choose your distribution, then go to behaviours and open the default behaviour. If you scroll down to the bottom you will see the associated function, as seen below.